Workshop Objectives:
- Goal 1: What is audacity and what can it do?
- Goal 2: Getting Audacity on your computer and learn how to record, edit, and save audio.
- Goal 3: What are some other audio and podcast resources you can access?
Goal 1: What is audacity and what can it do?
Audacity is a free, easy-to-use, multi-track audio editor and recorder for Windows, Mac OS X, GNU/Linux and other operating systems. The interface is translated into many languages. You can use Audacity to:
Listen to this short audio example I created in Audacity. Below are other examples of podcasts that you could easily do something similar in Audacity. Click any of the speaker icons below to listen.
Audacity is a free, easy-to-use, multi-track audio editor and recorder for Windows, Mac OS X, GNU/Linux and other operating systems. The interface is translated into many languages. You can use Audacity to:
- Record live audio.
- Import and edit audio files
- Layer and blend many audio tracks together. This is called multi-track editing.
Listen to this short audio example I created in Audacity. Below are other examples of podcasts that you could easily do something similar in Audacity. Click any of the speaker icons below to listen.
Goal 2: Getting Audacity on your computer and learn how to record, edit and save audio!
Screencast tutorials for Audacity - go through these short videos to learn how to use Audacity. It's best if you go through these screencasts in order.
Screencast tutorials for Audacity - go through these short videos to learn how to use Audacity. It's best if you go through these screencasts in order.
- What is Audacity and how do you install it on your computer?
- How do you import and play audio files in Audacity?
- How do you set up your hardware to use in Audacity?
- How do you create a new project, save it, and open it again with all your audio tracks?
- How do you record, edit, and save your project in Audacity?
- How to use effects, and add additional tracks to your project.
- How can you split an audio clip into pieces you can move around in your project?
- Finalizing your podcast and saving it as an MP3 audio file.
- What do you do if saving an MP3 version asks you for a LAME MP3 encoder?
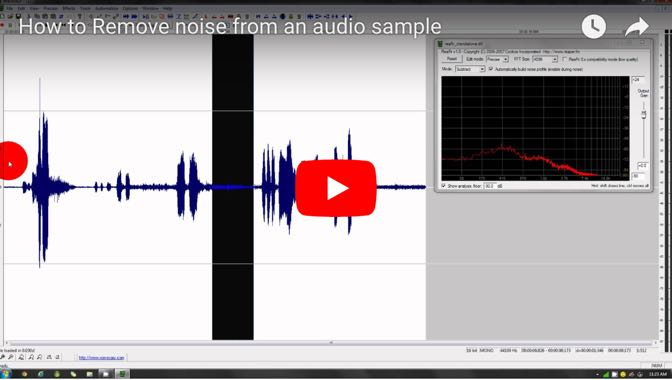
- How do you remove background hum or noise from your audio in Audacity?
Goal 3: Other podcast and audio resources you can access...
|
LAME MP3 Encoder Plug-in for Audacity:
Sound effect and music resources that are free...
There are millions more that you could use in your classroom! Check out these sites...
|
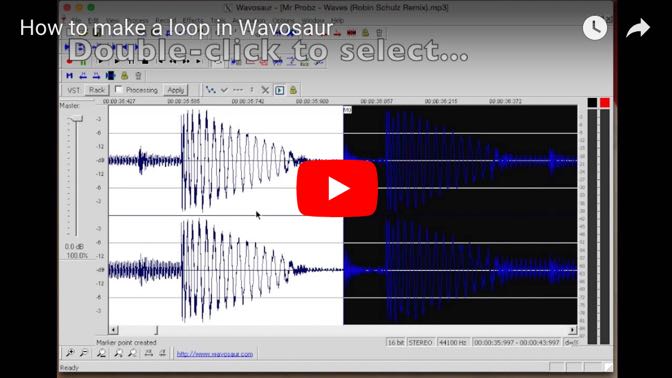
There are other free audio recorders and editors you can download. For example, Wavosaur is a free, open source audio recorder and editor for Windows PCs.
Introduction to Wavosaur
Wavosaur is one of the most streamlined audio recorders/editors on the internet. Not only is it easy to use, but it doesn’t need to be installed. You can run it from a USB flash drive and take your entire editing process with you.
Wavosaur has all the features to edit audio (cut, copy, paste, etc.), produce music loops, analyze, record, and batch convert. It supports VST plugins, ASIO driver, multichannel wav files, and real time effect processing.
How to download Wavosaur
Go to https://www.wavosaur.com/. Once there, click on either the 32 bit or 64 link depending on your computer (if you’re not sure, click on the 32 bit; it works on both).
Unzip the folder you’ve downloaded. You’re done! Click on the Wavosaur.exe to get started.
Make a simple recording (and convert it to MP3 format)
Let’s start recording! Just press the Record tab, then start. You will not see anything pop up until you stop, but the red dot should start flashing blue. To stop, click the flashing red dot. It will save your recording in an internal window, which you can now edit by clicking and dragging to select an area that you can copy and paste within the window.
Wavosaur will save each recording in a separate window as a .WAV audio file, but you can easily select and drag them between windows. Want to add a clip from an audio file you already have? Just drag and drop into Wavosaur, and you can treat it like any other recording.
When you’re done, just save and you’re done! Remember that if you have multiple audio files open, it will try to save them all individually. If you need another audio format than .WAV - say, you want it as an .MP3 file, you can use any free audio converter program to do that. One such free program is the Mediahuman Audio Converter for Windows and Macintosh. When you open up the Audio Converter program, just drag the .WAV file into it, make sure it says .MP3 up at the top of the window, and click the double arrow icon. I'll demonstrate this in a video below...
Additional resources
Official Wavosaur website tutorials: https://www.wavosaur.com/tutorial.php
- How to record audio with Wavosaur (6 step guide)
- How to use VST with Wavosaur (6 steps guide)
- How to edit loop points with Wavosaur (6 steps guide)
- How to use batch processor in Wavosaur (5 steps guide)
- How to remove noise with Wavosaur and ReaFIR (7 steps guide)
